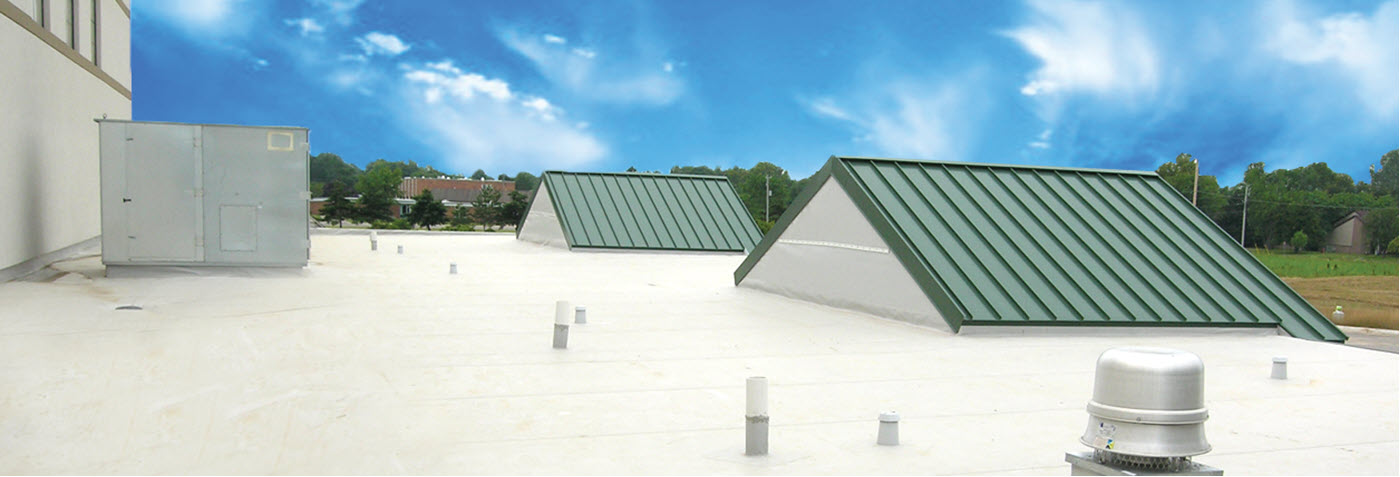
The integrity of your facility’s roof is key to the integrity of your property as a whole, which is why it’s so important to have your roof inspected regularly. According to the National Roofing Contractors Association, having a professional roof inspection completed every spring and fall is a good way to prevent structural damage to your property and identify potential problems that could otherwise require costly emergency repairs.
Before you hire a commercial roofing contractor to perform a roof inspection, you may want to learn more about what you can expect from this routine procedure. Below, we’ve outlined some of the main steps roofers take when performing an inspection.
Your Step-By-Step Guide to Roof Inspections
Here’s a brief overview of how a roofing contractor will go about inspecting your roof:
- Step 1: Inside Inspections. Inspections often begin from the interior of a building to help determine whether leaks are present and where their source is located. For example, if water stains are spotted, the contractor will know to look directly above that area on the roof to assess the cause of the leak.
- Step 2: Walking the Roof. It’s important to have a trained professional walk your roof to identify any problematic circumstances such as uplifted seams or shingles, cracks, ponding water, or holes in the substrate. Typically, the roofer will begin this walk around the perimeter of the roof and work towards the middle in order to ensure that no area is overlooked.
- Step 3: Removal of Core Samples. The roofing contractor may need to remove small portions of the roofing material to learn more about its layers and the level of saturation it has experienced. The area where the material is removed will be patched to prevent additional damage. The number of core samples required will depend on the size of your roof. Generally, you can expect 1-2 samples to be taken for every 10,000 sq. ft. of roof area.
- Step 4: Drafting of a Report. Following the visual inspection and removal of core samples, the contractor will draft a detailed report of their findings. This report should include information about the sources of leaks, areas where the roof is saturated, photos of damage, recommendations for next steps, along with an estimate for the cost to repair any damage found.
The first three steps of your commercial inspection will likely take between half an hour to a full hour if your property is around 20,000 sq. ft. Of course, the total time needed for your inspection will vary based on the number of penetrations, roof sections, and roof types that must be examined. However, you can be confident that any roof inspection you schedule will not turn into a full-day affair.
Your Roof Inspection Results
You can expect to receive your inspection report between 3 and 5 days after your inspection. While you may want this information right away, you have to keep in mind that the contractor must compile the best photos from the inspection and provide clear explanations of every issue that was found. In addition, examining each core sample can take some time.
As part of your report, the contractor will give you a list of options for repairing your roof, as well as an estimate of the cost for performing the proposed work. If for any reason you feel that the roofer has overlooked an opportunity for water to enter the building or has failed to suggest cost-effective solutions for the identified deficiencies, you may want to get in touch with a second commercial roofing contractor for an additional inspection and quote.
Is it time to set up a roof inspection for your commercial property? Don’t hesitate to call AMW Contracting today at 904-725-4197 to request a free inspection and estimate from our professional team.
